Last updated on July 12th, 2025 at 10:42 am
Salesforce CRM is a powerhouse for managing customer relationships, and its integrated Sales Dialer feature takes efficiency to the next level by enabling seamless telephony capabilities directly within the CRM platform for sales calls. Whether you’re a sales rep aiming to enhance productivity or a manager seeking better tracking and insights, Salesforce Dialer equips you with the tools to streamline your outbound calls and improve customer interactions.
This comprehensive guide walks you through the ins and outs of using Salesforce Dialer, from prerequisites to enabling advanced features. We’ll cover all aspects, ensuring you can maximize the potential of this tool within your organization.
Table of contents
- Why Use Salesforce Dialer?
- Features and Functions Sales Calls in Salesforce CRM
- Salesforce Efficiency with AI
- Required Editions and Availability
- Preparing for Dialer Implementation
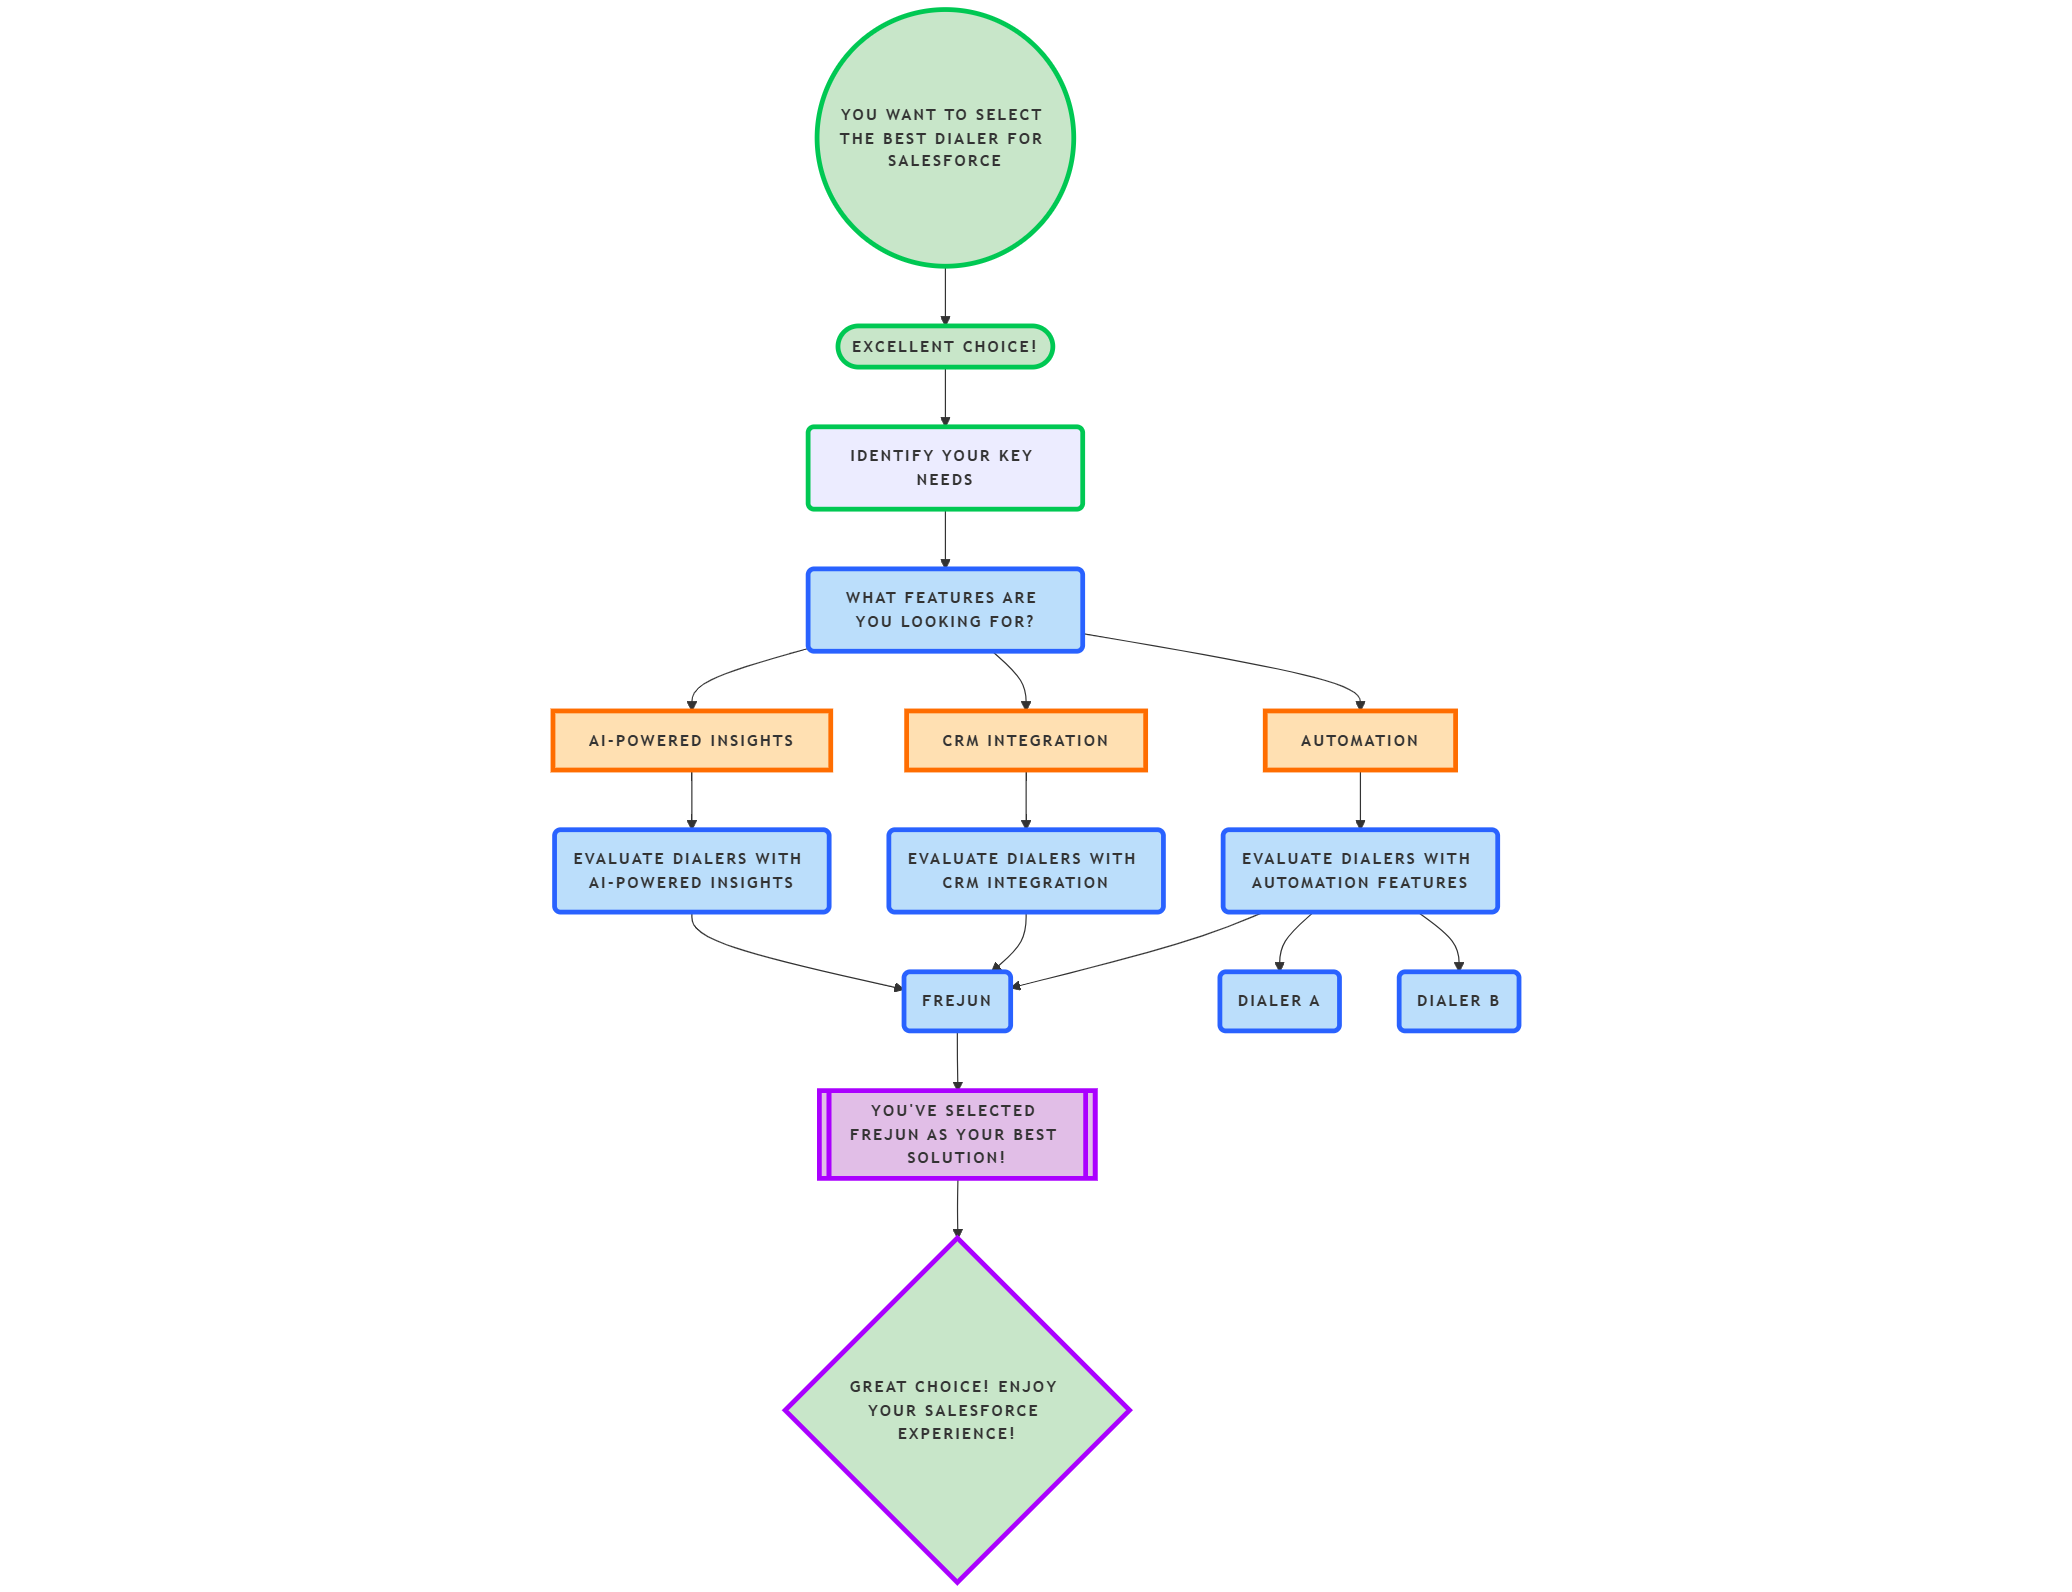
- Best Dialer for Salesforce
- Steps to Enable Salesforce Dialer
- Dialer Usage Management
- Best Practices for Using Salesforce Dialer
- Maximizing ROI with Salesforce Dialer
- Conclusion
- Frequently Asked Questions
Why Use Salesforce Dialer?
Salesforce Dialer eliminates the need for switching between CRM systems and external dialing tools, making it a go-to solution for teams striving for efficiency. Key benefits include:
- Integrated Workflow: Make and manage calls directly within Salesforce, reducing disruptions caused by switching between apps.
- Enhanced Productivity: Automate dialing, logging, and tracking to focus more on meaningful customer interactions.
- Scalability: Suitable for businesses of all sizes, especially those using Sales Cloud and Service Cloud.
- Local Presence: Improve call pickup rates by displaying local numbers to customers.
- Call Monitoring: Provide real-time coaching and feedback to sales reps for better performance.
Now, let’s dive into the details of setting up and using Salesforce Dialer effectively.
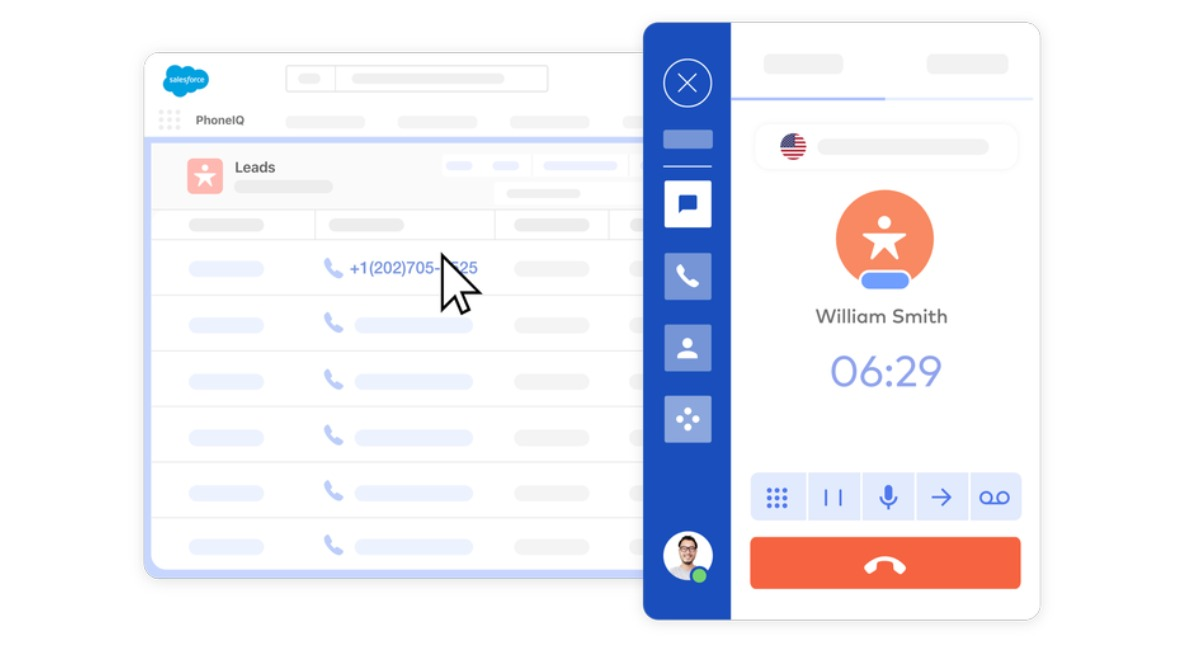
Features and Functions Sales Calls in Salesforce CRM
| Feature | Function | FreJun’s Advantage |
| Click-to-Dial | Makes outbound calling seamless | AI-powered automation for speed and efficiency |
| Call Logging | Automatically records call data | Real-time CRM updates without manual entry |
| AI Analytics | Provides insights into call performance | Sentiment analysis and lead prioritization |
| Follow-Up Automation | Ensures leads don’t go cold | Auto-reminders and post-call email triggers |
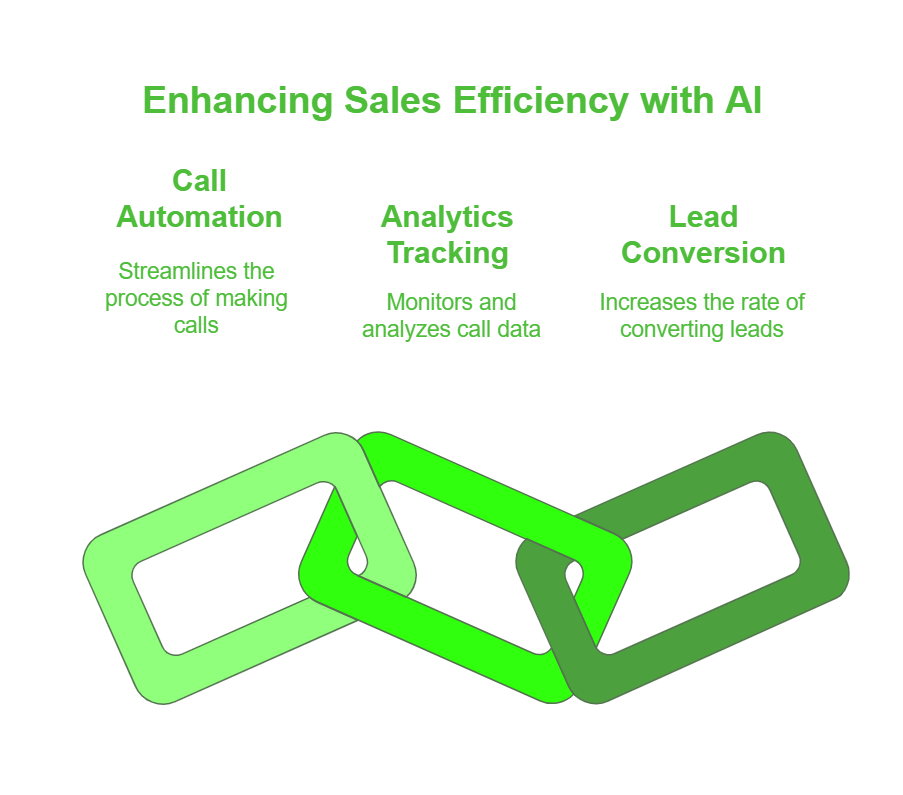
Salesforce Efficiency with AI
Required Editions and Availability
Before diving into implementation, it’s essential to confirm your organization meets the prerequisites for Salesforce Dialer.
Required Editions
Salesforce Dialer is available in:
- Lightning Experience
- Sales Cloud and Service Cloud (Essentials, Professional, Enterprise, Performance, and Unlimited Editions)
Licensing Requirements
Sales Dialer is not included by default. It is available as an add-on license, requiring additional costs. Ensure your organization has purchased the necessary licenses before proceeding.
Preparing for Dialer Implementation
These are the steps for preparing Dialer Implementation:
1. Plan Your Implementation
Before enabling Salesforce Dialer, map out your organization’s telephony needs. Consider the following:
- User Groups: Identify which teams or individuals will require access to the Dialer.
- Integration Needs: Assess whether you need third-party tools or integrations like FreJun to enhance functionality.
- Feature Requirements: Prioritize features such as call monitoring, local presence, and analytics based on your goals.
2. Understand Dialer Limitations
Every tool has its constraints. Before implementing Salesforce Dialer, familiarize yourself with its limitations to set realistic expectations:
- Call Volume: Dialer has limits on the number of calls a user can make within a given time.
- Geographic Restrictions: Some features, like Local Presence, may not be available in all regions.
- Dependent Features: Certain functionalities require additional permissions or configurations to work effectively.
Best Dialer for Salesforce
Steps to Enable Salesforce Dialer
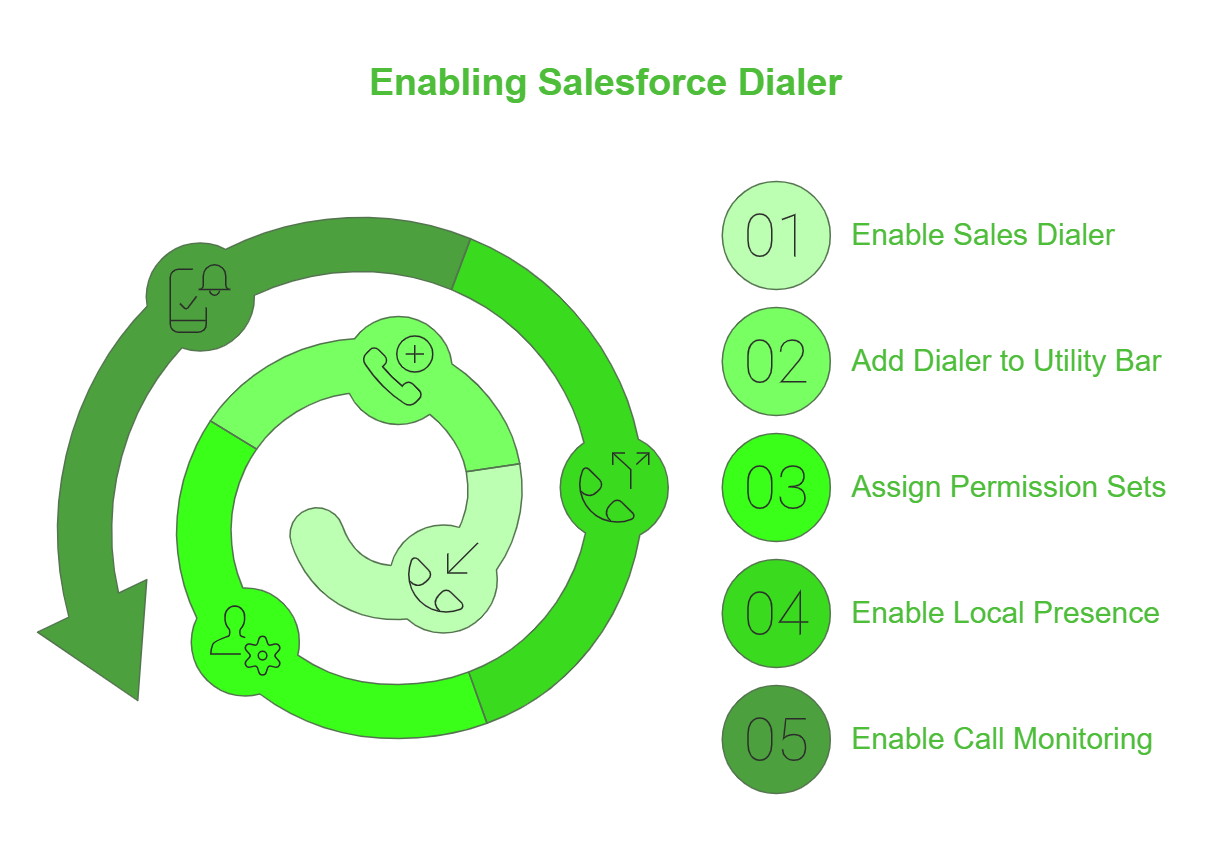
Setting up Salesforce Dialer involves a series of steps to ensure proper functionality and integration. Here’s a step-by-step guide:
Step 1: Enable Sales Dialer
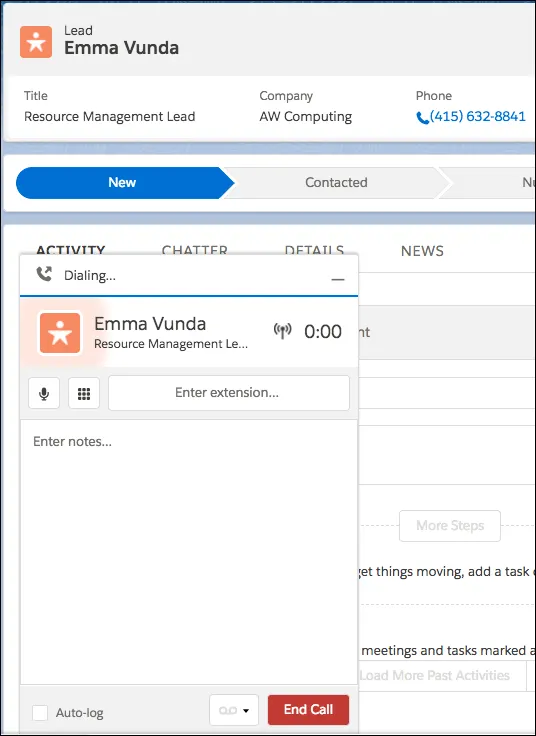
- Access Dialer Settings: Navigate to the Dialer Settings page in Lightning Experience.
- Activate the Feature: Toggle the setting to enable Sales Dialer for your organization.
Step 2: Add Dialer to the Utility Bar
The utility bar in Salesforce provides quick access to commonly used tools. To add Dialer:
- Go to App Manager in Setup.
- Select the desired app (e.g., Sales Console).
- Add Dialer to the utility bar, making it accessible at the bottom of the page for users.
Step 3: Assign Permission Sets
Users need the appropriate permissions to access Sales Dialer.
- Go to Setup and navigate to the Permission Set Assignments page.
- Assign the Dialer Permission Set to selected users.
Step 4: Enable Local Presence
Local Presence is a powerful feature that displays a local number to the customer, increasing the likelihood of them picking up.
- Navigate to the Local Presence Settings in Setup.
- Enable the feature, then instruct users to select Local Presence under their personal settings.
Step 5: Enable Call Monitoring
Call Monitoring allows managers to listen to live calls and provide real-time coaching.
- Turn on Call Monitoring in Dialer Settings.
- Create a permission set with the Access Dialer Monitoring permission.
- Assign this permission set to managers or designated users.

Dialer Usage Management
After setting up Salesforce Dialer, ongoing management is key to ensuring optimal usage and performance.
Monitor Dialer Usage
Salesforce provides tools to track how Dialer is used within your organization:
- Usage Metrics: Access metrics from the Dialer Settings page to view total call volume, duration, and other statistics.
- Performance Insights: Use Salesforce reports to analyze call outcomes and identify bottlenecks.
Optimize Workflows
- Regularly review Dialer settings and adjust based on team feedback.
- Update calling lists and scripts to align with changing customer needs or campaign goals.
Best Practices for Using Salesforce Dialer
To fully leverage Salesforce Dialer, follow these best practices:
1. Train Your Team
Ensure sales reps are familiar with Dialer features and functionalities. Conduct regular training sessions to address common challenges and explore advanced tools.
2. Segment Leads
Segment your leads based on factors like industry, location, or stage in the sales cycle. This helps reps prioritize high-value prospects.
3. Schedule Calls Strategically
Analyze customer behavior to identify the best times for calling. Use data from Dialer analytics to optimize call scheduling.
4. Provide Real-Time Coaching
Use the Call Monitoring feature to guide reps during live calls, improving their confidence and closing rates.
5. Regularly Update Scripts
Adapt your call scripts to reflect feedback from customers and evolving market conditions.
Maximizing ROI with Salesforce Dialer
Combining Salesforce Dialer with third-party tools like FreJun can amplify its effectiveness. FreJun adds additional features like AI insights, advanced analytics, and seamless integration with other workflow tools.
Conclusion
Salesforce Dialer is a game-changing tool for sales teams, offering integrated telephony features that boost efficiency and productivity. By following this guide and leveraging advanced features like Call Monitoring and Local Presence, your organization can optimize its sales processes and achieve better outcomes.
Using a dialer in Salesforce transforms the way sales teams operate. With FreJun’s AI-driven call automation, businesses can optimize their sales efforts, enhance engagement, and drive higher conversions. Leverage the power of Salesforce dialers in 2025 and stay ahead of the competition!
Further Reading: Be a Successful TSR with 3C’s of Communication
Frequently Asked Questions
A dialer is a calling tool embedded in Salesforce that lets you make calls without switching platforms. FreJun provides this with added AI-based enhancements.
Yes, integrated tools like FreJun offer click-to-dial functionality directly from lead or contact views.
Absolutely. FreJun syncs call recordings to the appropriate lead or deal entry.
Yes. Tools like FreJun reduce manual effort, automate follow-ups, and boost productivity.
Just a stable internet connection and a headset. Cloud-based dialers like FreJun require no extra hardware.
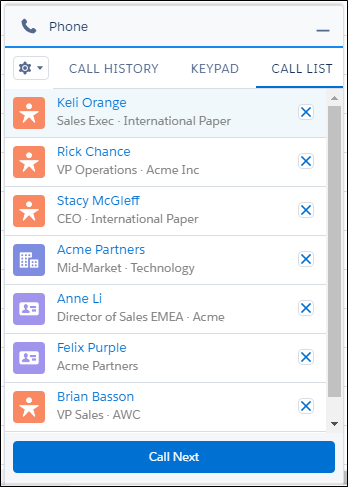
Yes, power dialers like FreJun support bulk or sequence calling for outreach campaigns.
Yes. FreJun provides detailed call analytics and summaries accessible within Salesforce dashboards.
