Last updated on May 1st, 2025 at 01:52 pm
As businesses increasingly rely on integrated workflows to streamline communication and sales processes, the need for unified voice and CRM data becomes critical. The FreJun + Salesforce integration allows teams to manage all customer call interactions directly from their Salesforce CRM — no manual entry, no missing context, and full visibility into every conversation.
Table of contents
What’s the Fastest Way to Integrate a VoIP tool with Salesforce CRM?
The fastest way to do this is to choose a VoIP solution like FreJun, which offers native Salesforce integration with minimal setup. FreJun allows your team to enable features like click-to-call, automatic call logging, real-time analytics, and activity syncing inside Salesforce — all without the need for complex coding or third-party middleware, making the whole process efficient and smooth.
Whether you’re a sales manager looking to monitor team activity, a recruiter trying to streamline candidate follow-ups, or a support leader aiming to reduce response times, this integration ensures call intelligence becomes part of your decision-making process.
Integrating FreJun with Salesforce CRM
In this guide, you’ll learn:
- How to set up FreJun and Salesforce integration
- How to install the FreJun Chrome extension for click-to-call functionality
- What data gets synced and where
- How to troubleshoot common issues
Prerequisites
Before you begin the integration, make sure the following components are ready:
- An active Salesforce account with admin privileges
- A FreJun Super Admin account
- The latest version of the FreJun Chrome Dialer Extension installed
- The same email address used in both FreJun and Salesforce (for correct user-level sync)
- Your Salesforce instance must allow third-party OAuth authentication (standard in most orgs)
Note: This is a one-time setup performed by the Super Admin of your FreJun account. Once connected, all users within your organization are automatically covered—no individual setup required.
Step-by-Step Integration Process
These are the steps of Integration Process:
Step 1: Create a FreJun Account
If you’re new to FreJun, follow these steps to get started:
- Visit the official FreJun website
- Click the Sign Up button and fill in your organization details
- Once registered, you’ll receive an activation link and dashboard access
- Log in to your FreJun Super Admin account and complete your profile
Already a FreJun user? You can skip this step and move to the connection process below.
Step 2: Connect FreJun with Salesforce

Follow these steps to authenticate and link both platforms securely:
- Login to your FreJun Dashboard
- Go to Settings > Integrations
- Under “Salesforce,” click the Connect button
- A new Salesforce window will pop up requesting authorization
- If not already logged into Salesforce, you’ll be prompted to do so
- Click Allow to enable secure data sharing between the platforms
Once connected:
- All future FreJun call activities will sync to Salesforce automatically
- A new Task object will be created in Salesforce for each call
- Data such as call notes, outcomes, and recordings will be attached
Only Super Admins can initiate and remove this connection. This protects your organization from accidental disconnects or duplicate integrations.
Installing the FreJun Chrome Extension

To enable click-to-call from any web page (including Salesforce lead and contact views), install the FreJun browser extension:
How to Install:
- Visit the official FreJun Chrome Extension page
FreJun Chrome Dialer Plugin - Click Add to Chrome
- Once installed, log in using your FreJun credentials
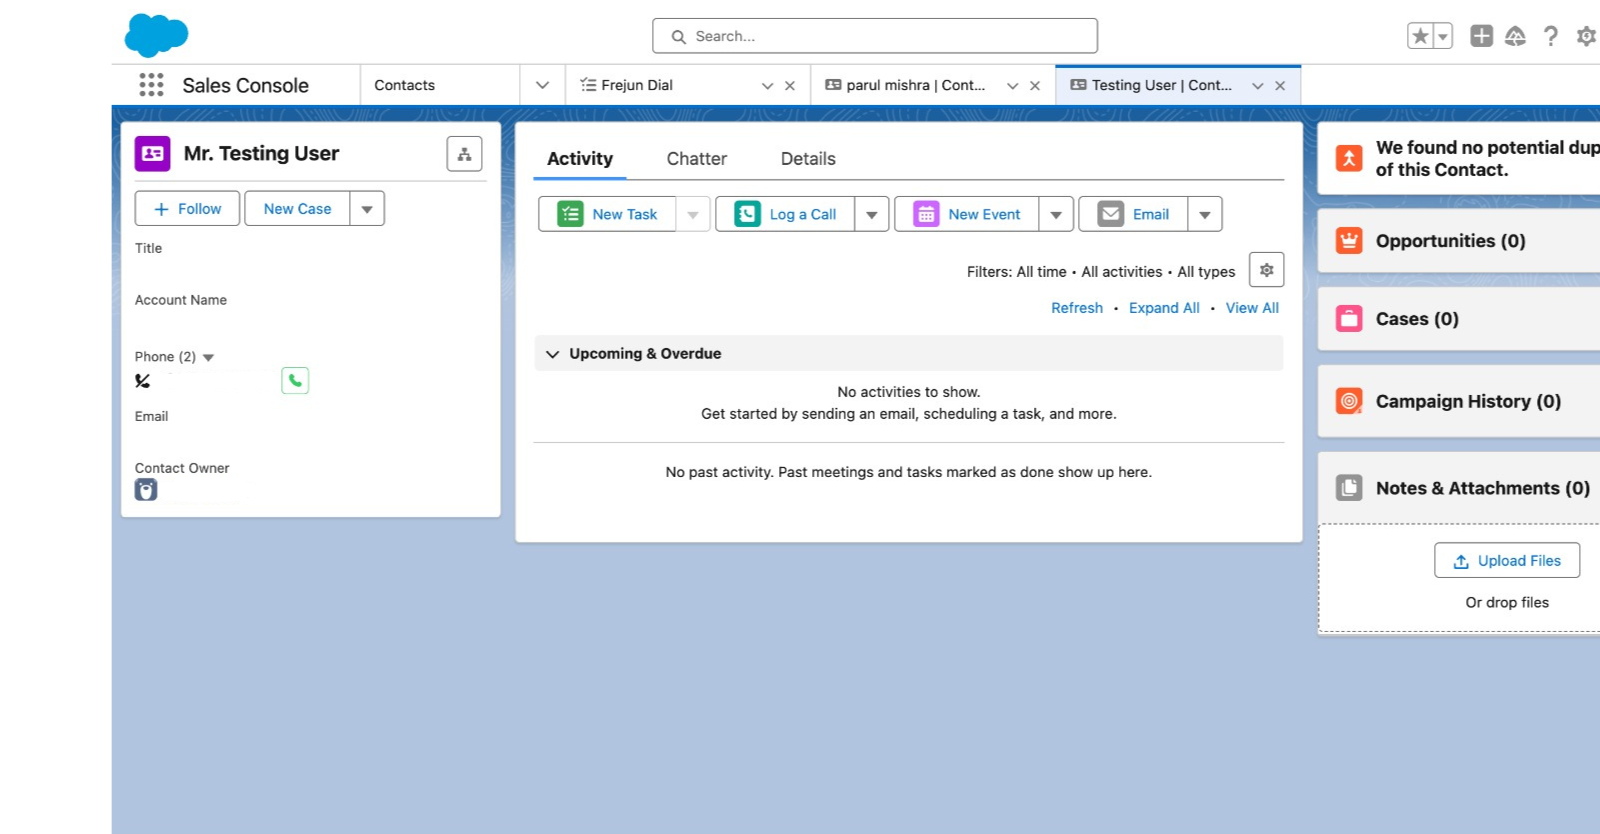
- Now, phone numbers on Salesforce pages will show a call button next to them
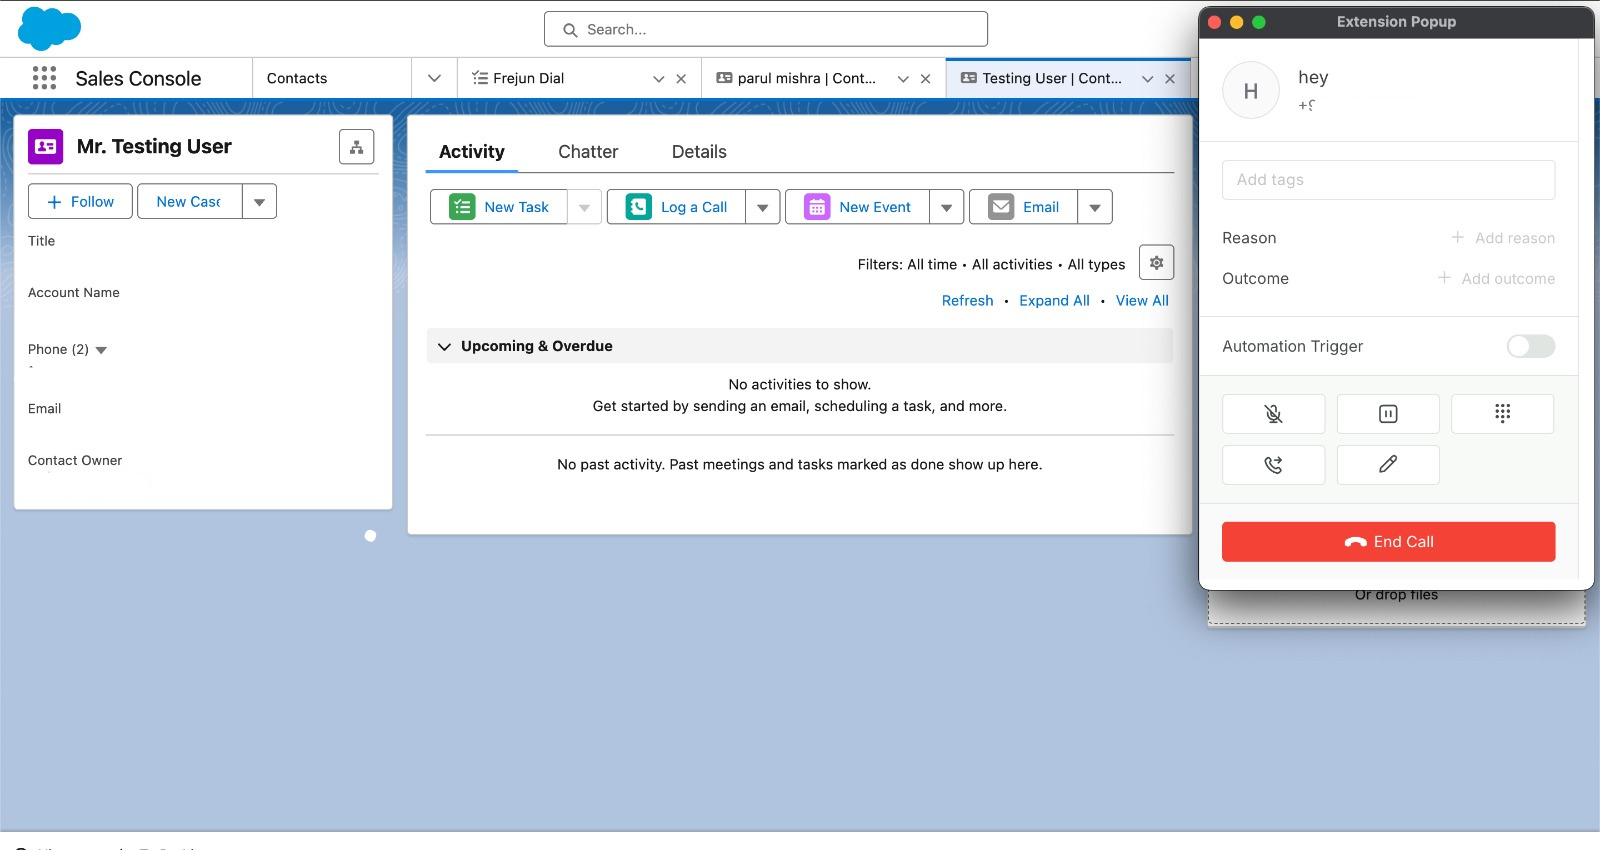
- Simply click the button to initiate the call from your FreJun account
Benefits of the Extension:
- Make calls directly from Salesforce, LinkedIn, job boards, or websites
- Skip copy-pasting numbers
- Works seamlessly with the FreJun backend to log calls
Further Reading: The Benefits of Using AI Insight for Call Management: A Comprehensive Guide
Need More Help?
If you need help during setup or want to enable additional sync fields, reach out to our support team:
Email: support@frejun.com
Setup Support: Book Onboarding Call (Optional CTA)
FAQs & Troubleshooting Guide
Ensure that the number is present only in the Phone or Mobile fields. FreJun does not scan custom or alternate fields for matches.
This feature is turned off by default. Contact support@frejun.com to enable “auto-create contact” for fresh numbers.
FreJun uses the call answer status to mark Task completion. Answered calls = Completed. Unanswered/missed calls = Pending or Overdue.
Ensure the email address used in FreJun matches exactly with the Salesforce user email. Mismatches result in tasks being assigned to the org admin by default.
Salesforce returns the first record that matches. FreJun logs the call to that record. To avoid ambiguity, keep phone numbers unique per contact.
The call recording is synced under a hidden field called Call Result. To make it visible: Follow this step-by-step video to unhide the field from your Salesforce layout.
Integrating with FreJun streamlines sales and support workflows by auto-logging calls and syncing all activities into Salesforce.
